Ubuntu Server 22.04 LTS Installation Guide
Ubuntu Server 22.04 LTS (Jammy Jellyfish) is a long-term support (LTS) release of the popular Linux server operating system, launched in April 2022. This version includes security improvements, performance enhancements, and updated software packages, with extended support until 2027. Ubuntu Server is ideal for cloud deployments, containers, microservices, and enterprise applications.
Ubuntu Server 22.04 has very low minimum requirements, but production environments should allocate resources according to intended use. It can be installed on physical hardware, virtual machines, or in the cloud. Unlike the Desktop version, Ubuntu Server doesn't include a graphical interface by default.
System Requirements for Ubuntu Server 22.04
- Processor: 1 GHz CPU or better (2 cores recommended)
- RAM: 512 MB minimum (2 GB or more recommended)
- Storage: 2.5 GB minimum (25 GB recommended)
- Installation media: 1GB+ USB drive (USB 3.0 recommended)
- Internet connection: Recommended for updates
- Boot: BIOS or UEFI compatible
- Network: Compatible network card
- Monitor: Only needed during installation
Follow these 25 detailed steps to install Ubuntu Server 22.04 LTS on your machine. Each step includes clear instructions for text-mode installation.
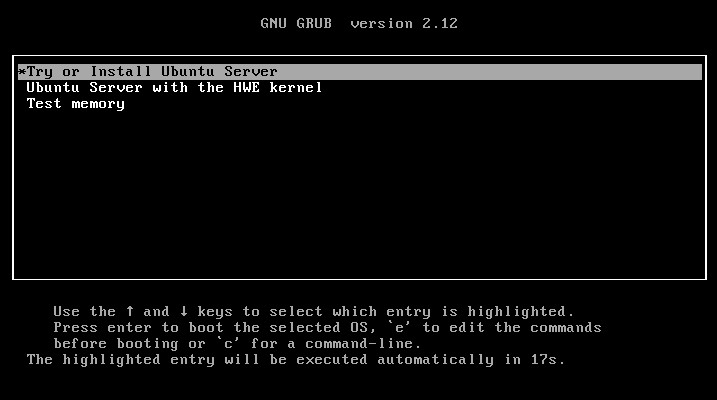
Installation Start
Insert the installation USB and boot from it. In the startup menu, select "Try or Install Ubuntu Server" and press Enter.
Click on the image to enlarge
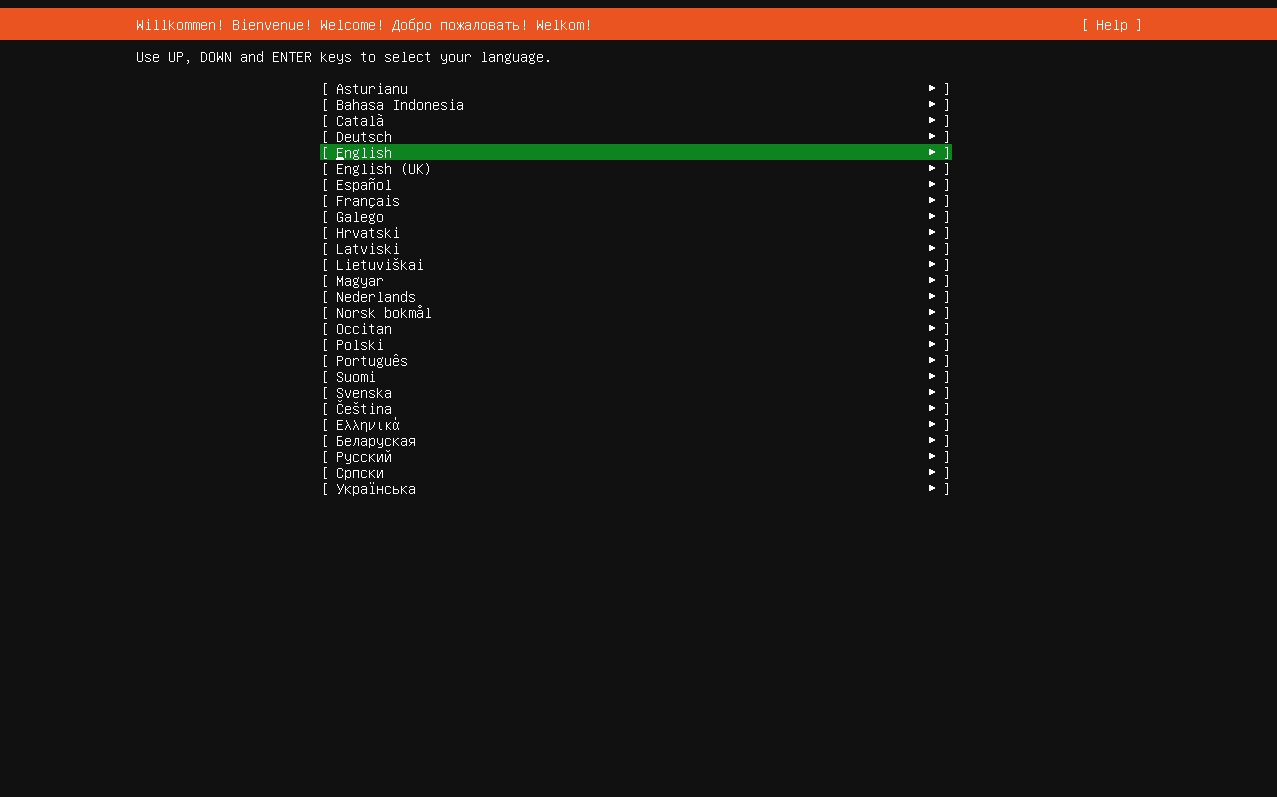
Language Selection
Select the language for the installation process (English recommended) and press Enter.
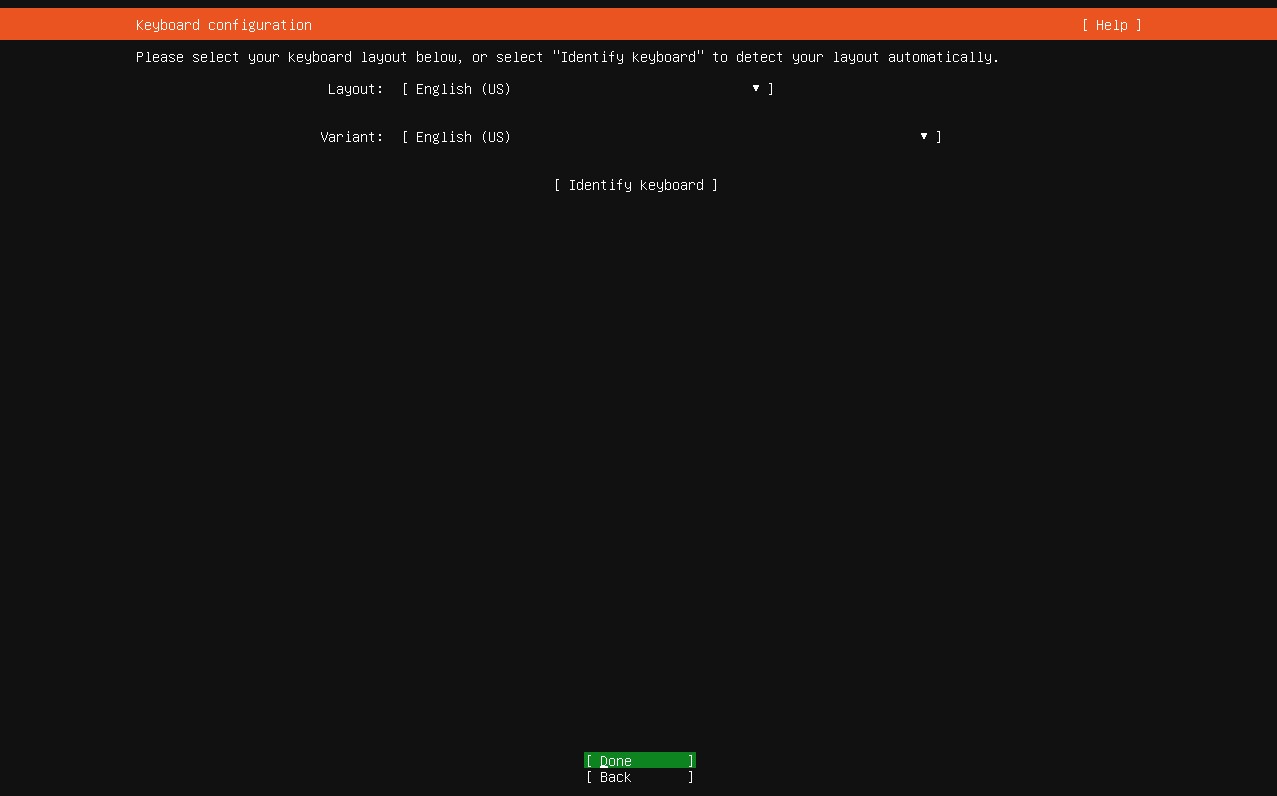
Keyboard Configuration
Select the language you want to use for your keyboard.
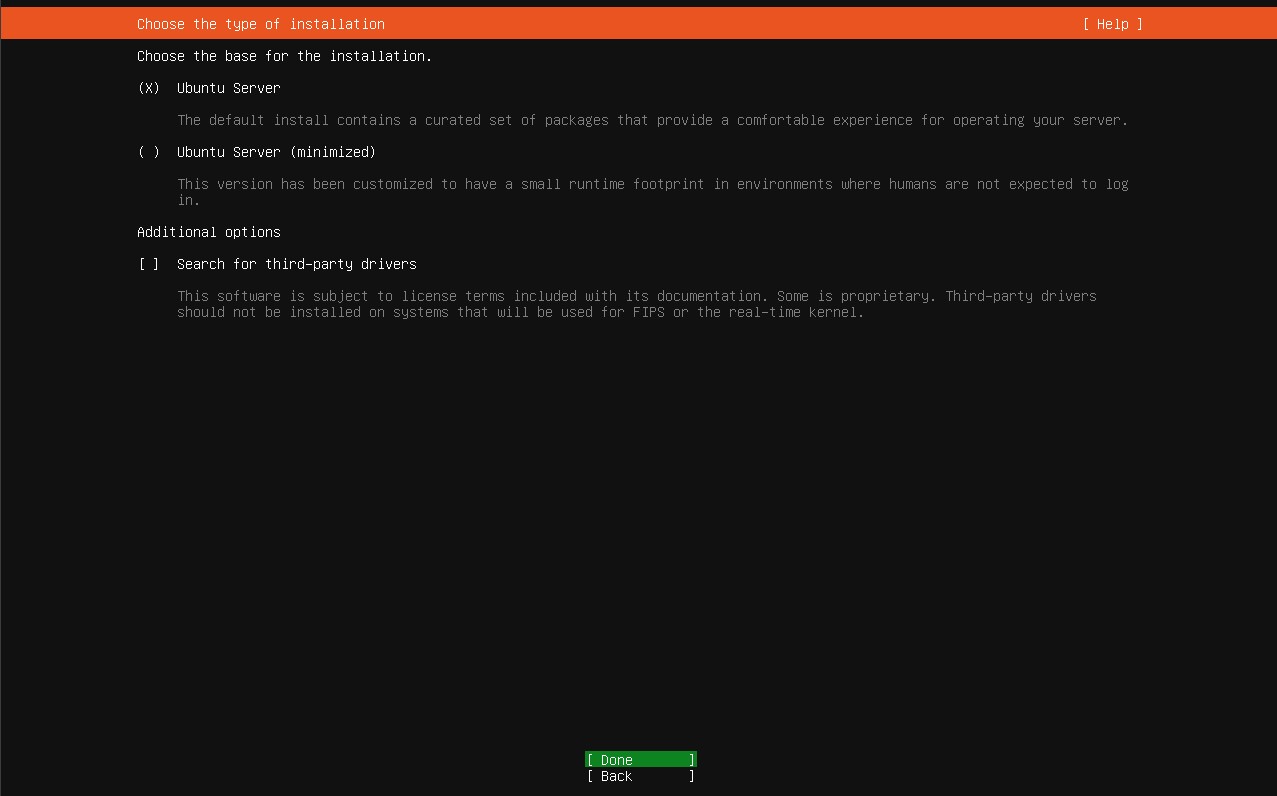
Installation Type
Here we choose the installation type. We select Ubuntu Server, which includes all necessary tools. We don't use the "minimized" option as it's a more basic version. Press Enter to continue.
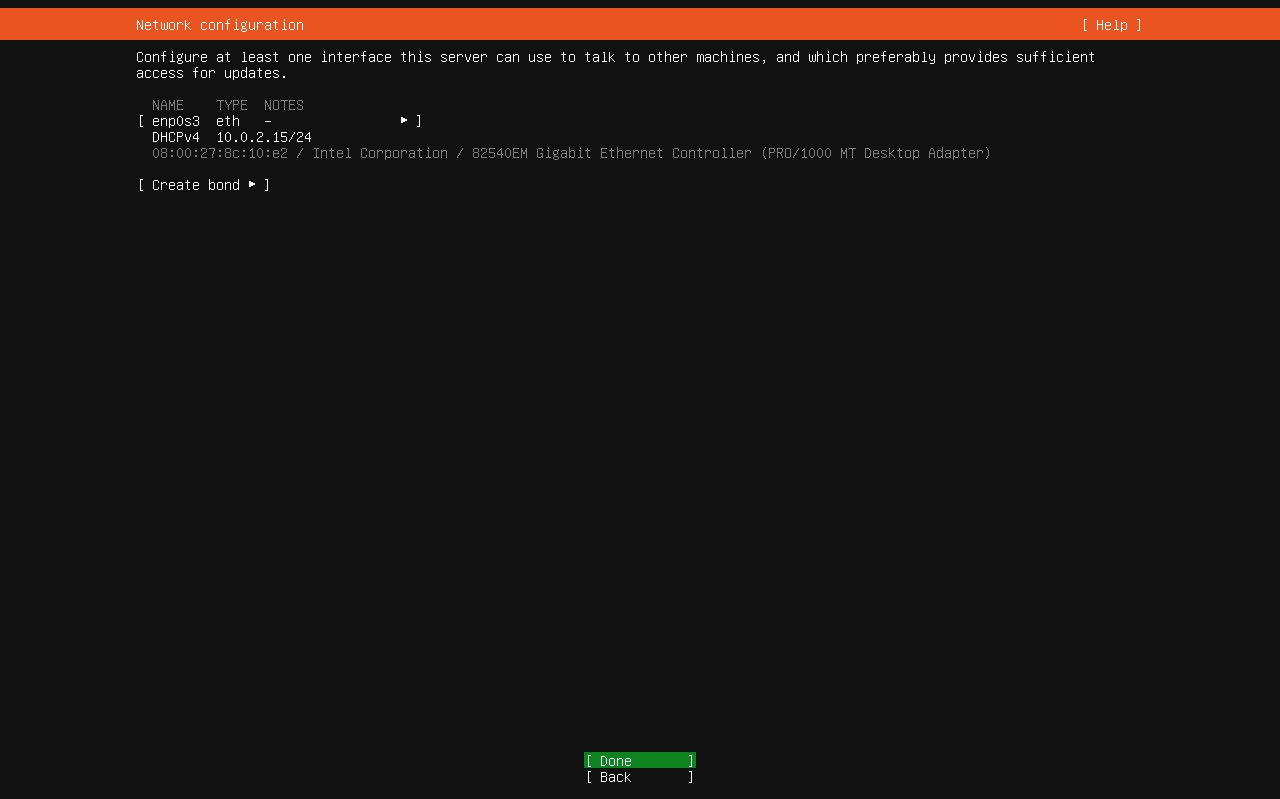
Network Configuration
The installer will attempt to configure the network automatically. If you have a DHCP connection, it will be configured automatically. You can modify the configuration if needed.
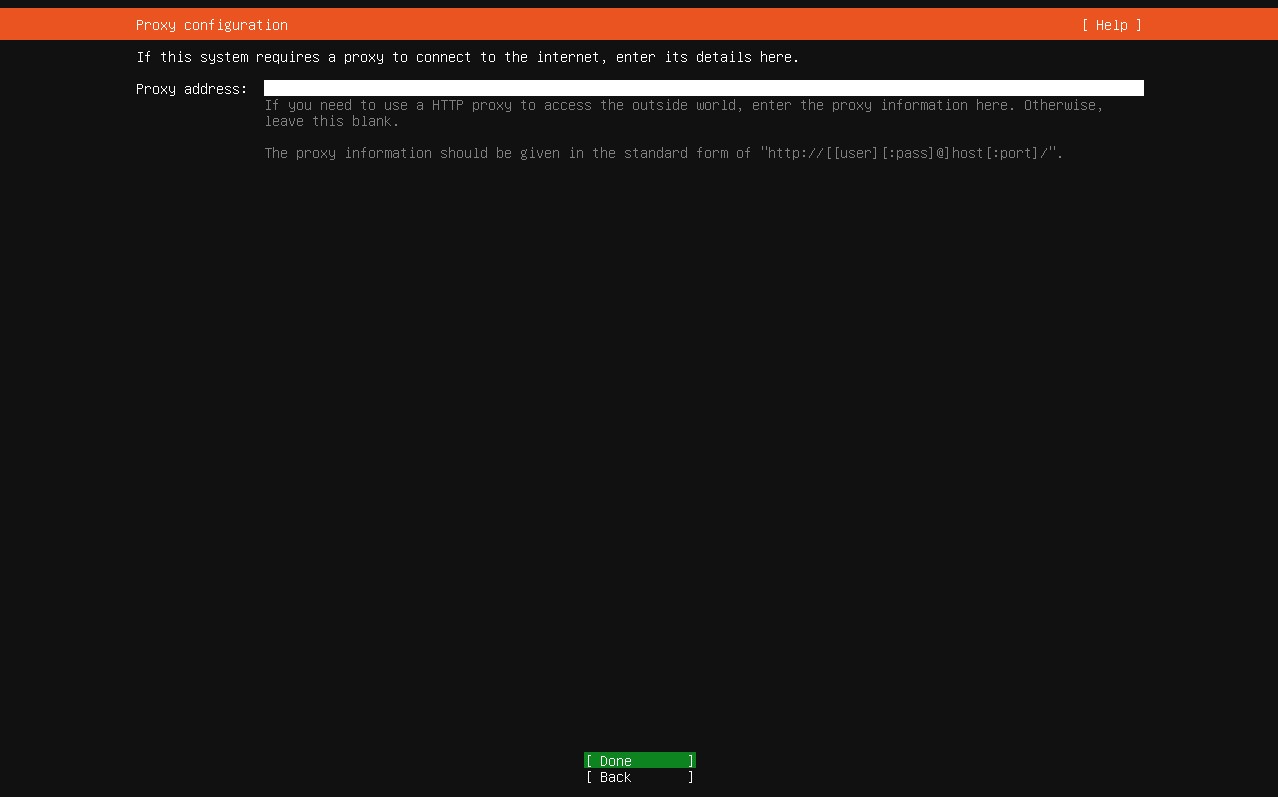
Proxy Configuration
If you're behind a proxy, enter the information here. Otherwise, leave the field blank and press Enter.
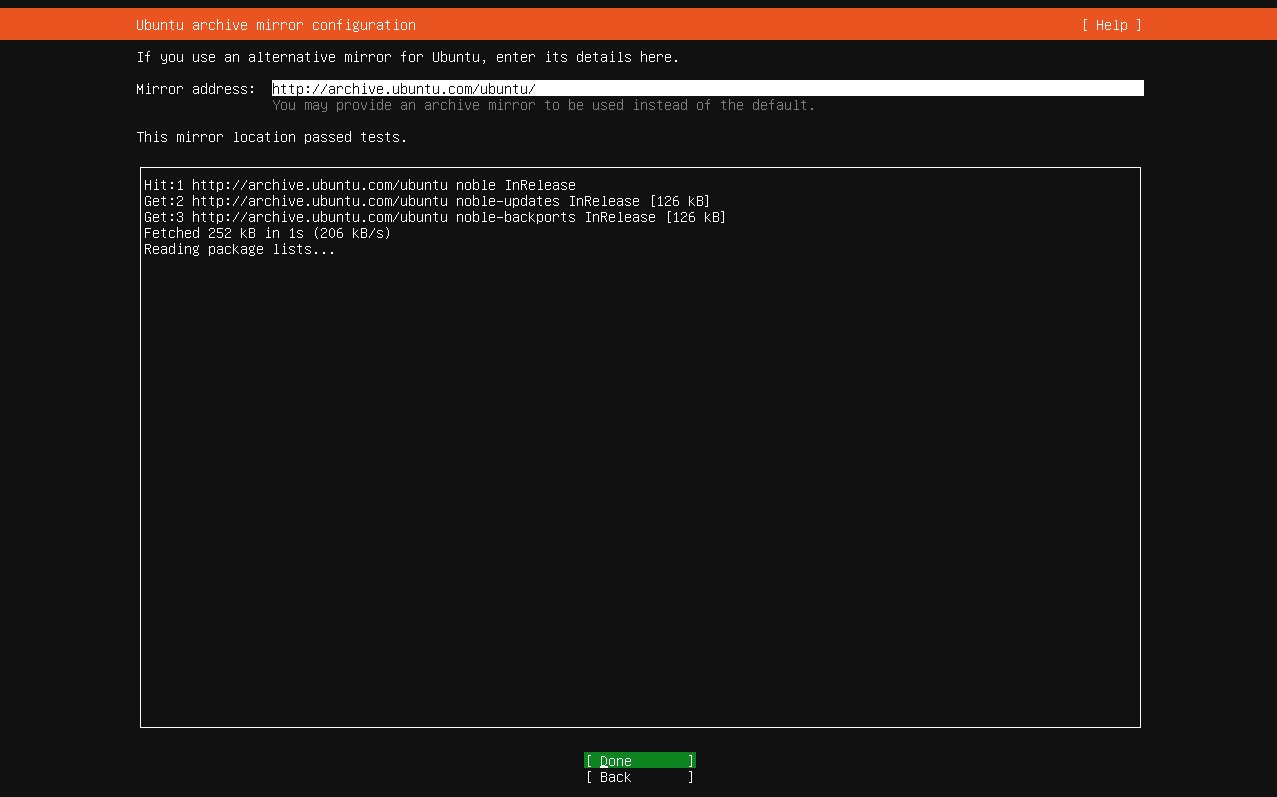
Repository Mirror Configuration
You can specify an alternative mirror for packages or use the default one. Press Enter to continue.
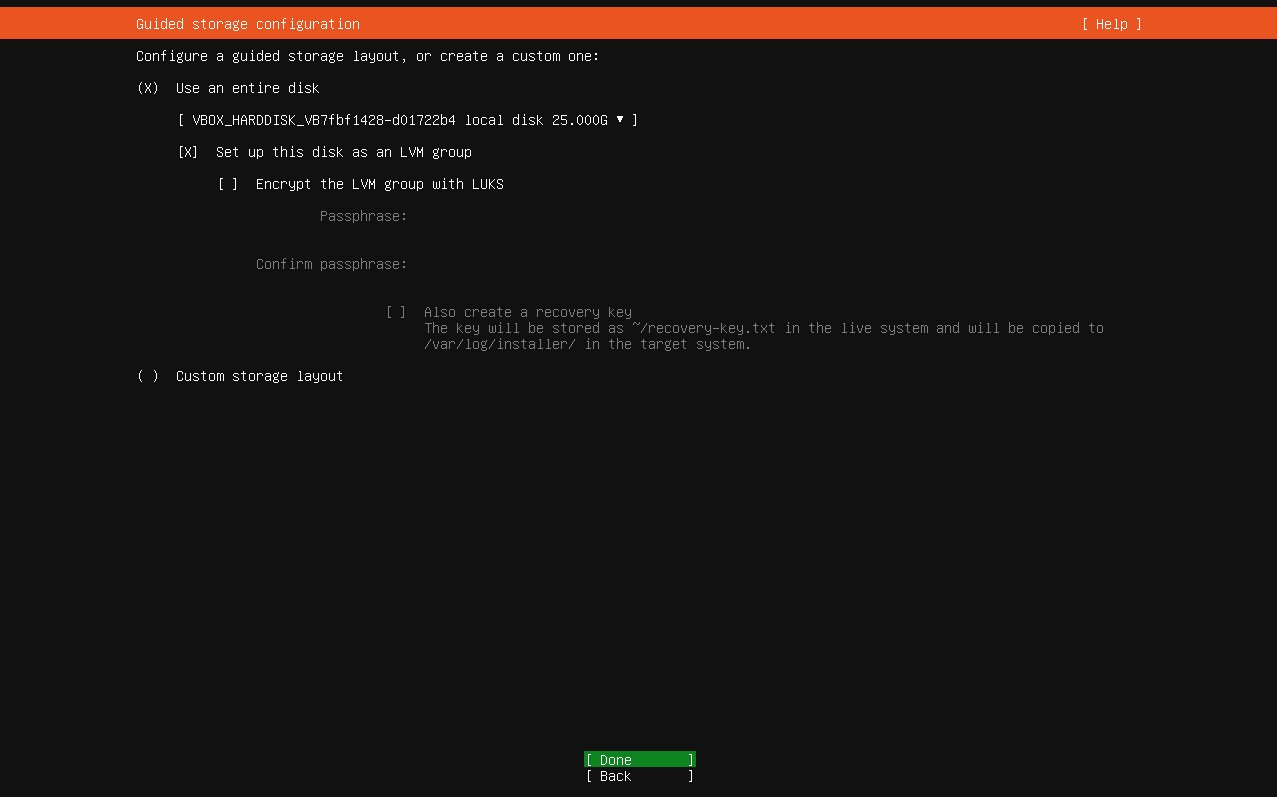
Partition Configuration
Select the partitioning method. For most users, "Guided - use entire disk" is sufficient. Advanced users can choose manual partitioning.
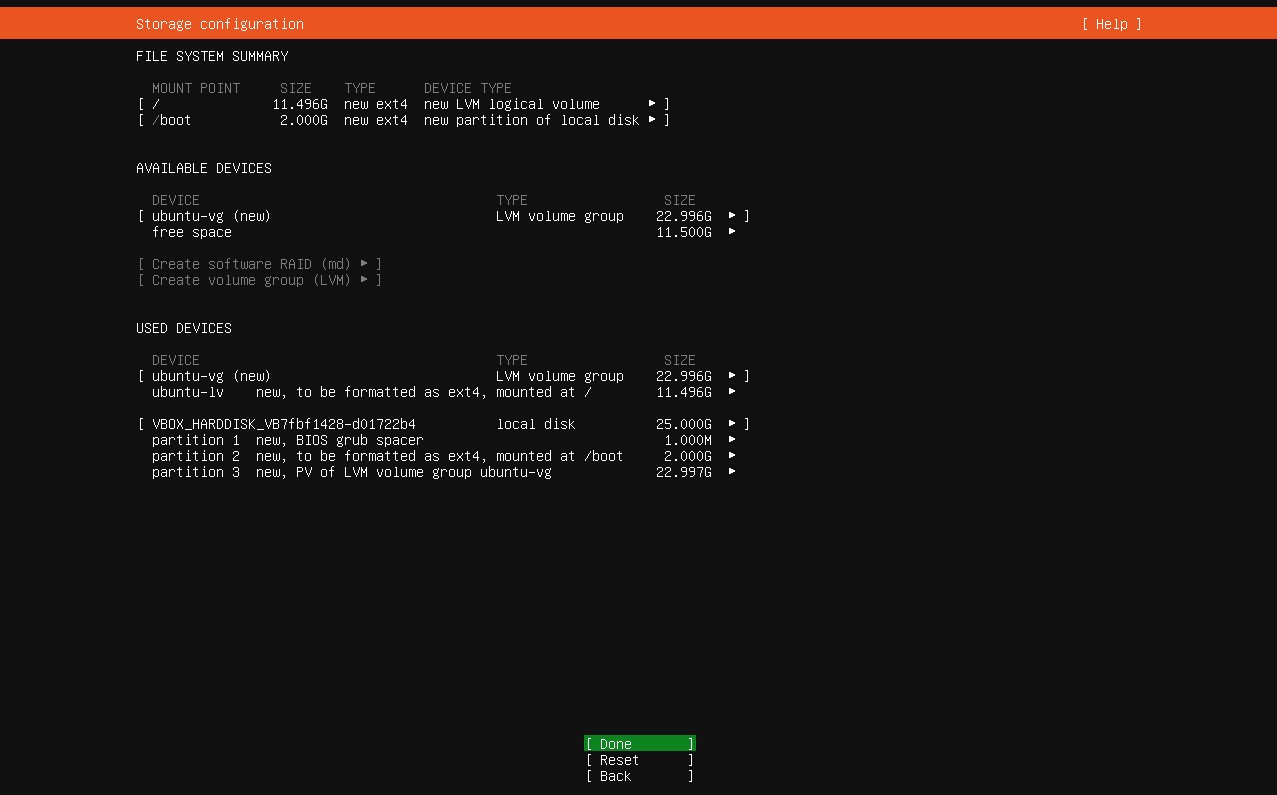
Filesystem Summary
This screen shows a summary of how the filesystem will be configured. If everything looks correct, select Done and press Enter to continue with the installation.
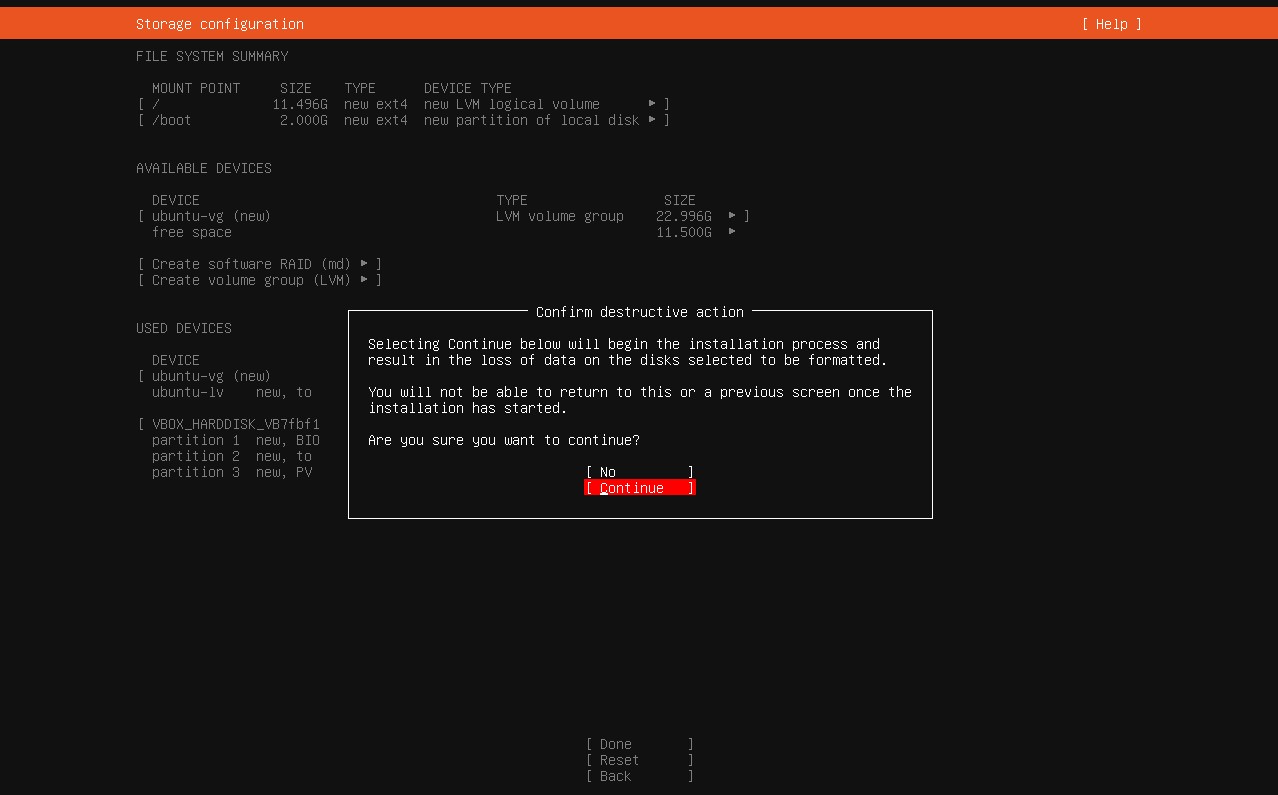
Partitioning Confirmation
Review the proposed partition configuration and confirm by pressing Continue.
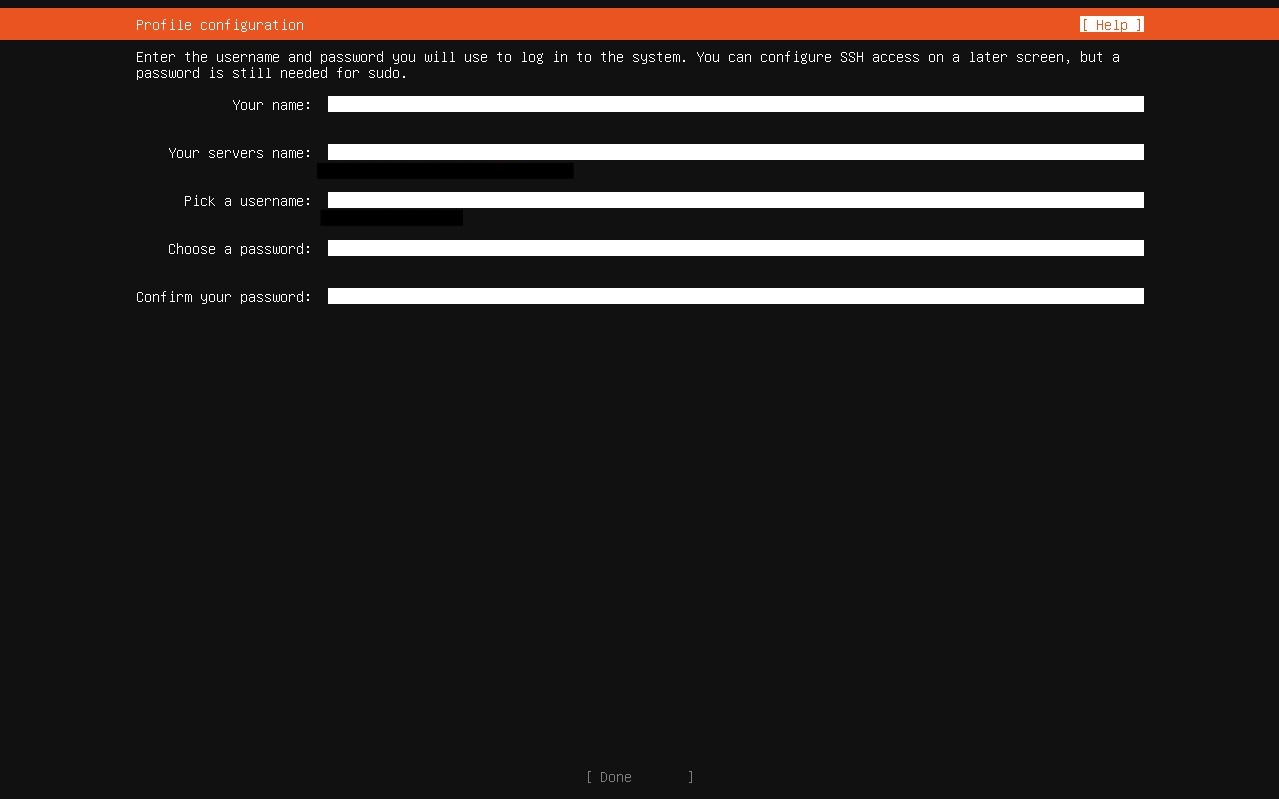
User Configuration
Enter your full name (optional), server name, username, and password. This information is important for system access.
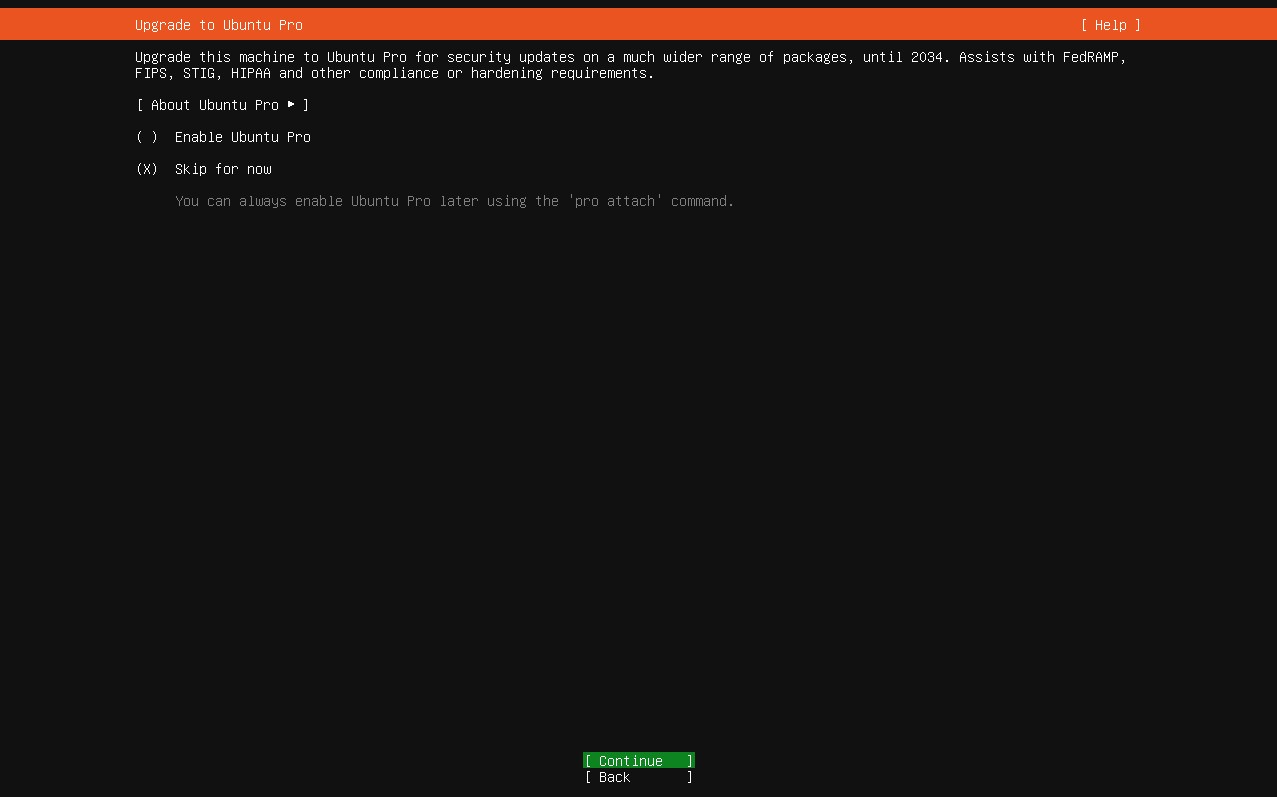
Upgrade to Pro?
Here we're offered the option to upgrade to Ubuntu Pro, a version with extended support and additional features. In our case it's not necessary, so we select "Skip" and press Enter to continue.
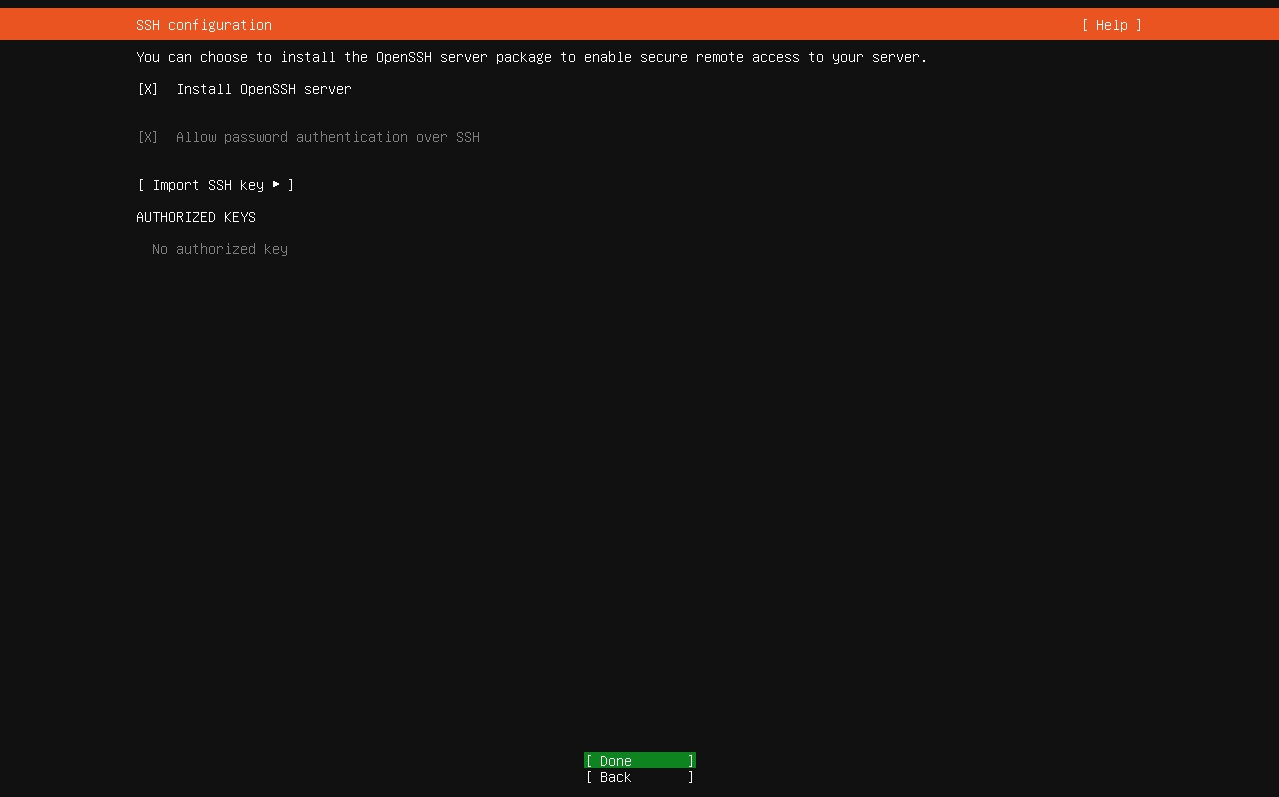
SSH Configuration
Check the "Install OpenSSH server" option if you want remote access to the server. Recommended for remote servers.
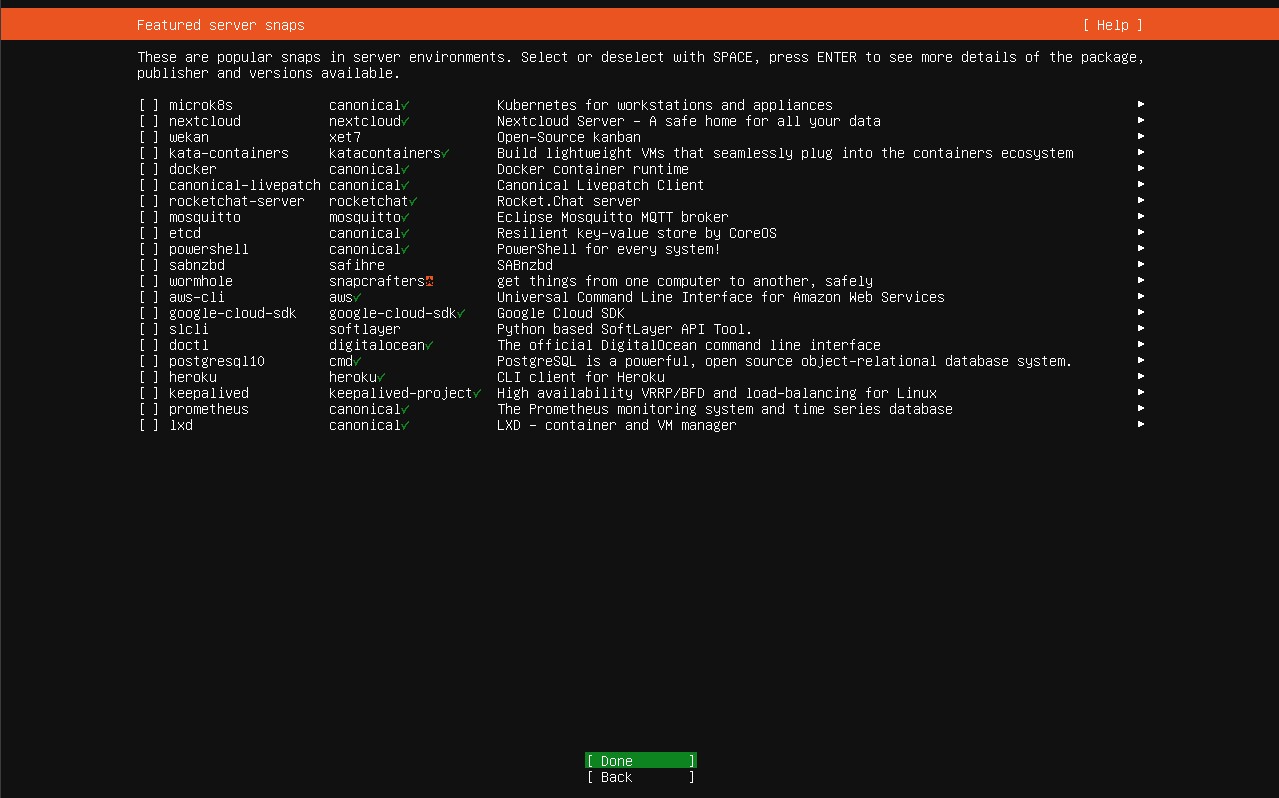
Package Selection
Select additional packages you want to install. You can choose from various profiles like web server, database server, etc.
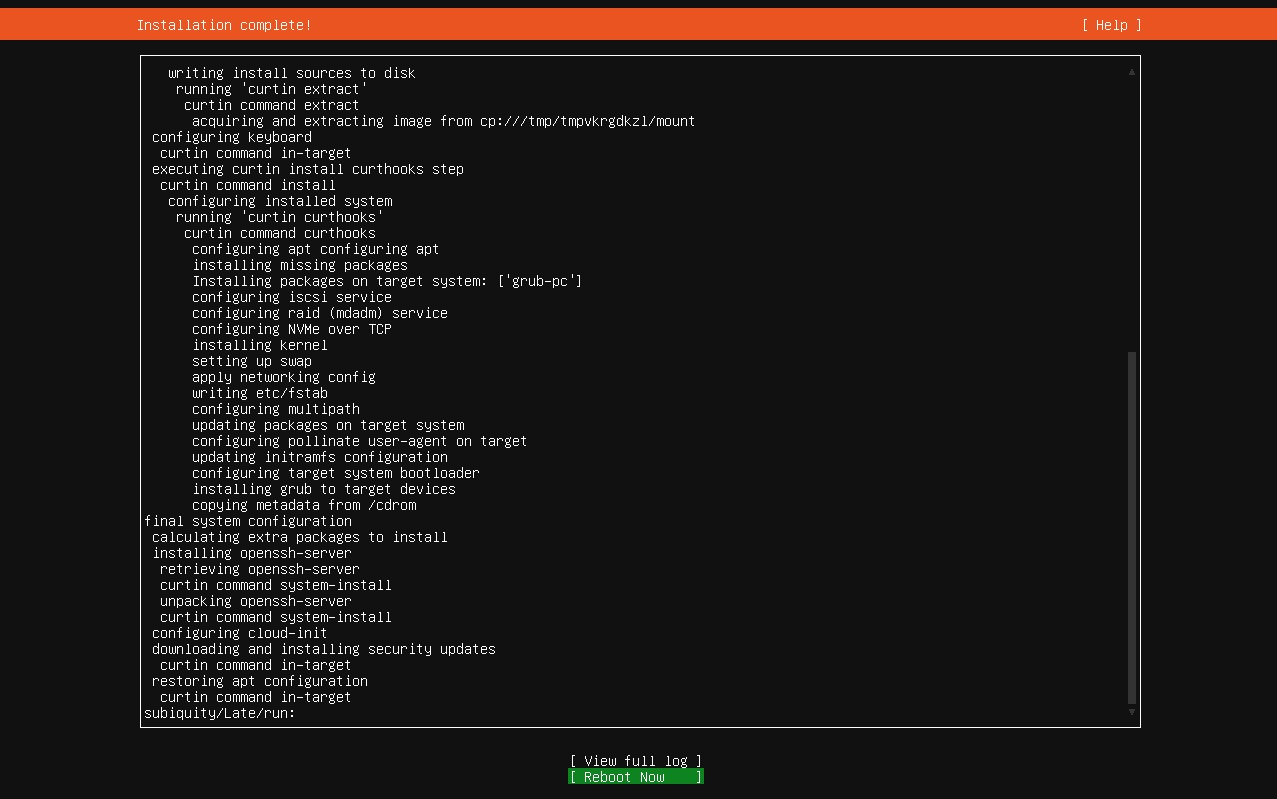
Installation Completion
Once installation is complete, the system will ask you to reboot. Remove the installation media and press Enter.
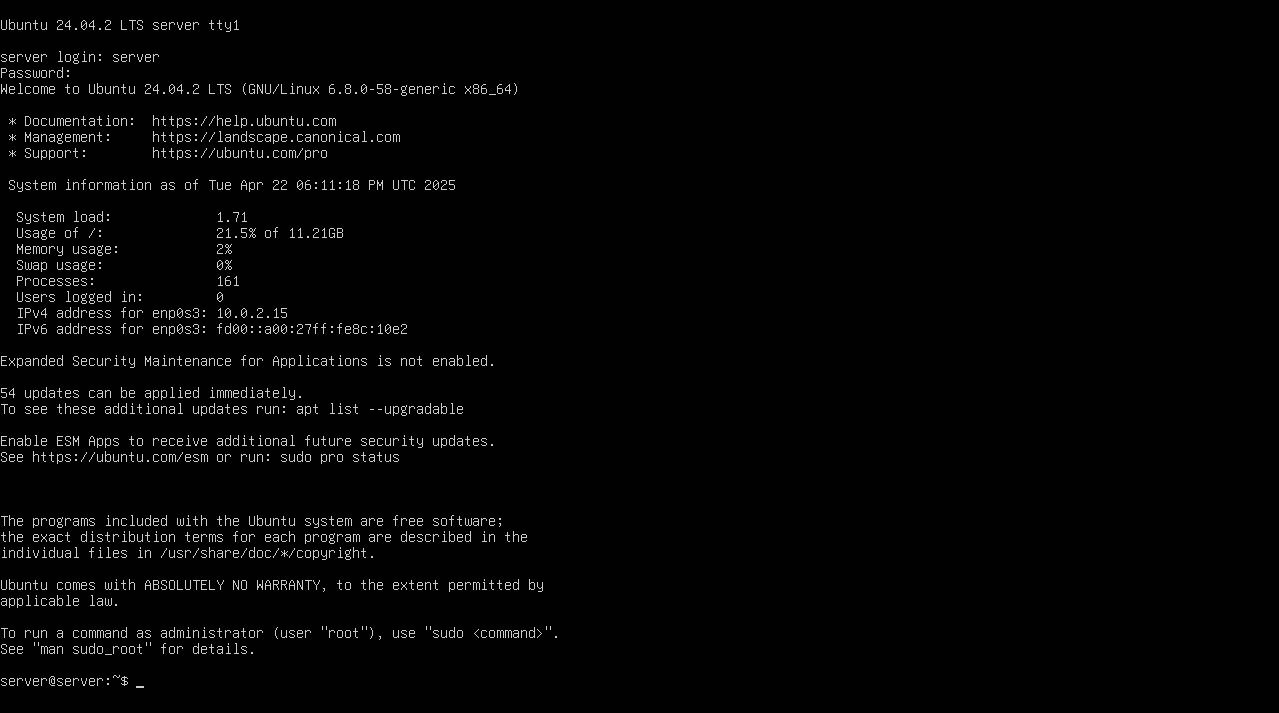
First Boot
After rebooting, the system will start and show the login prompt. Enter the username and password you configured.

Login
Now that we've logged into the terminal, we can start working with Ubuntu. We'll see a user prompt where we can enter commands to manage the system and perform administrative or configuration tasks.
System Update
To ensure our system is up-to-date with the latest fixes and improvements, it's important to update packages. First run the command sudo apt update, which updates the list of available repositories and packages. Then use sudo apt upgrade to install available updates for installed packages. This process ensures we have the latest versions and security patches, improving system performance and stability.

Graphical Environment Installation
Once the system is installed, we can proceed to install the graphical environment. This will allow us to interact with Ubuntu through a visual interface rather than the terminal. To do this, we'll execute the necessary commands to install a desktop environment like GNOME, KDE or XFCE. After completing the installation, we'll be able to log in with a graphical interface that provides easy access to all system applications and settings.

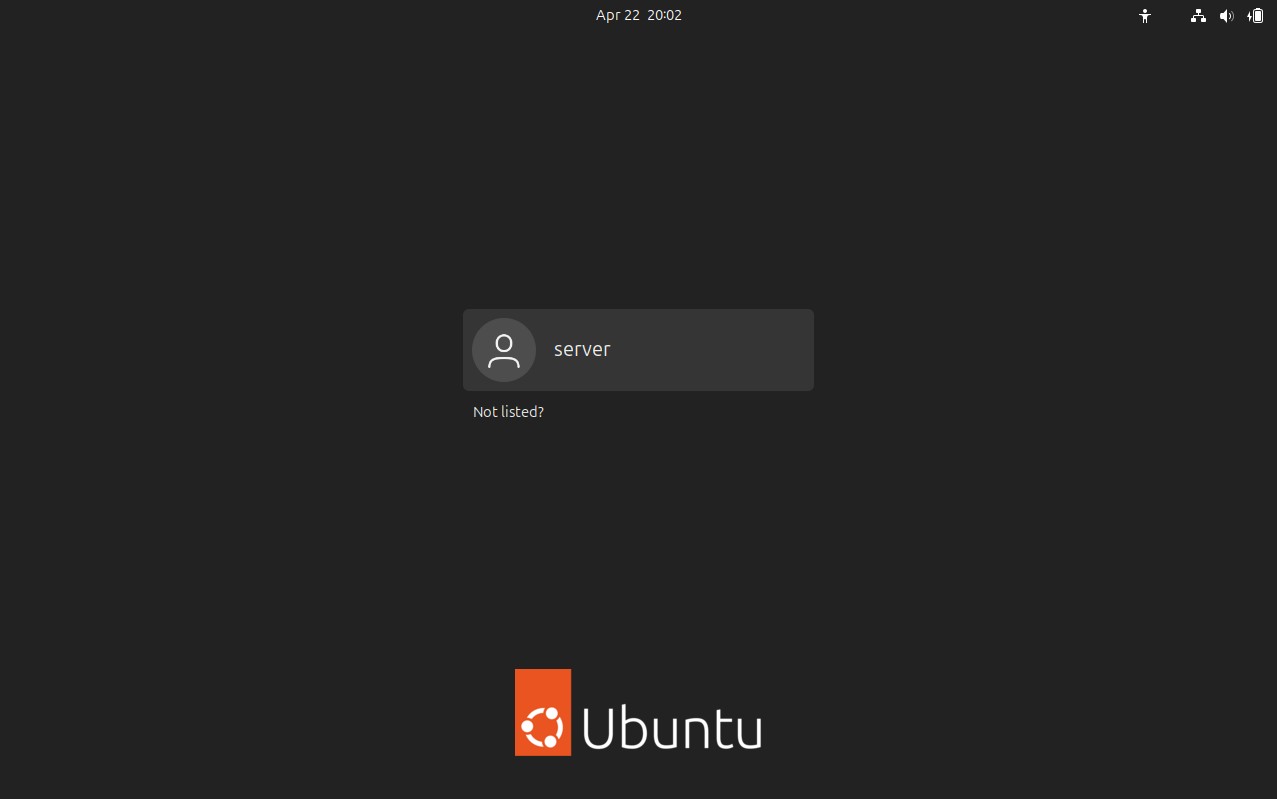
Graphical Environment
When logging into the graphical environment, you'll see a screen where you can view your user.
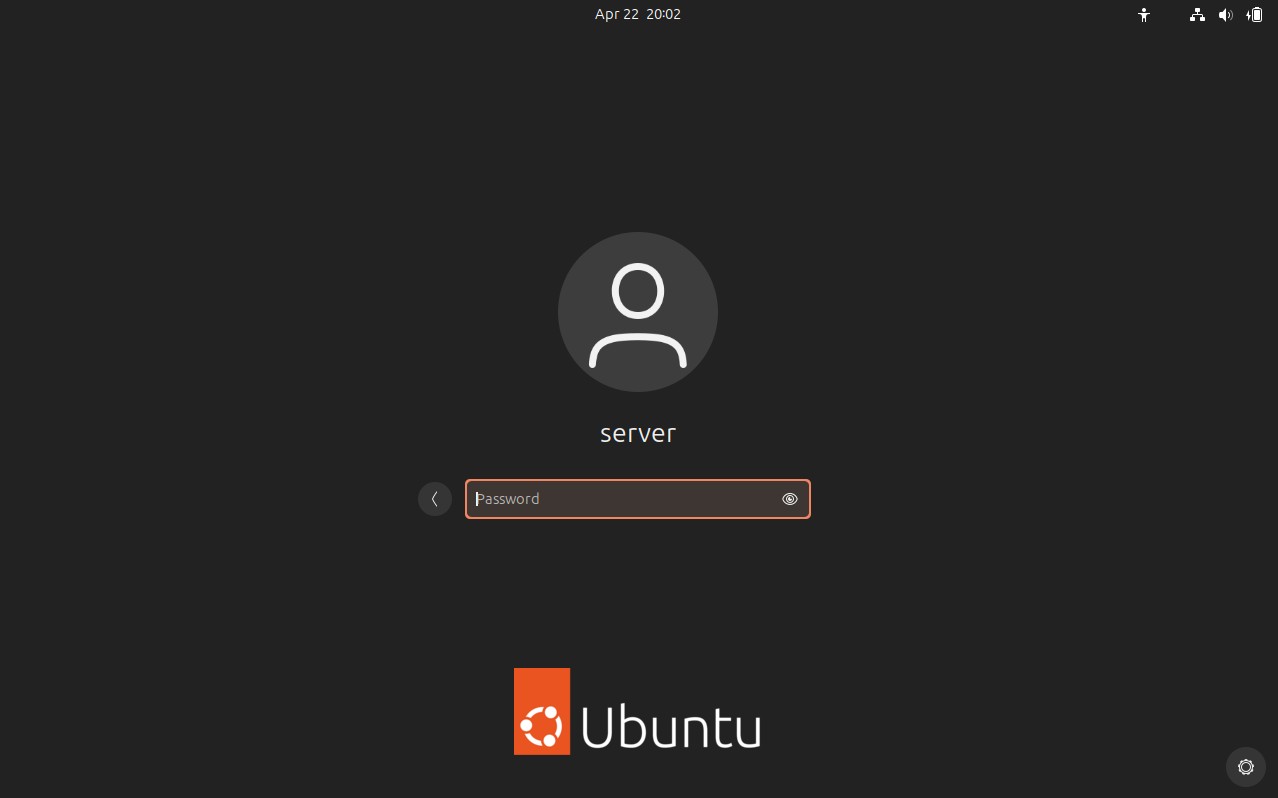
Login
Login with the password created earlier to enter the desktop.
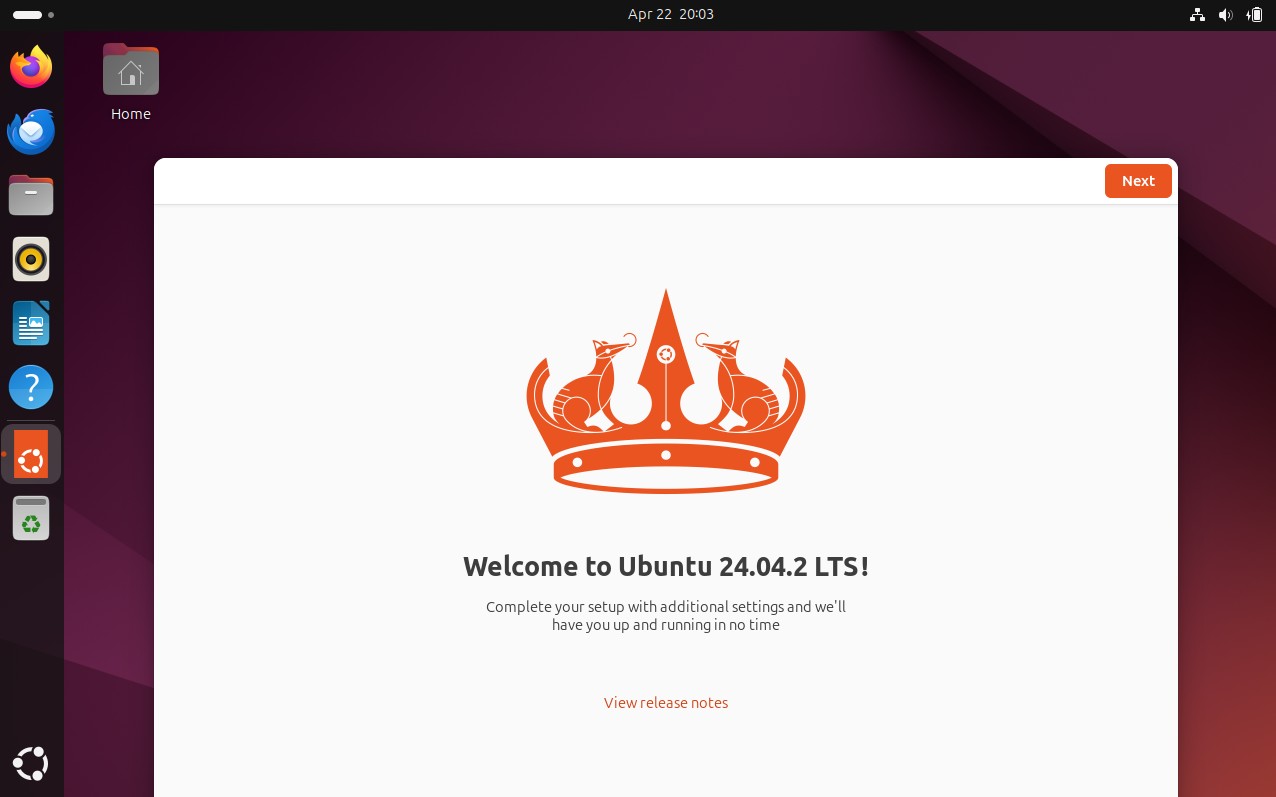
Welcome to Your Ubuntu Server Desktop!
Welcome to your Ubuntu Server desktop! After logging in, you'll see a clean, functional graphical environment that will let you manage your server more visually. From here you can easily access your tools, settings, and terminal. Ubuntu combines server power with desktop convenience so you can work more efficiently.
After installing Ubuntu Server, consider configuring: monitoring (like Netdata or Prometheus), centralized logs, automatic security updates, and system hardening. For production servers, implement a regular maintenance and update plan.